Homemade Rainbow Lollies: Your Canvas for Customizable Fruit & Yogurt Delights
Imagine a treat that's not only vibrant and delicious but also packed with natural goodness, completely customizable, and incredibly easy to make. Welcome to the world of homemade rainbow ice lollies – a delightful fusion of refreshing fruit and creamy yogurt (or even revitalizing coconut water!) that promises a guilt-free indulgence for all ages. Forget the artificial colors and added sugars of store-bought versions; these homemade delights are a celebration of nature's bounty, offering a refreshing escape on any warm day.
From a quick snack to a sophisticated dessert, these customizable frozen pops stand out. Whether you're aiming to sneak extra nutrients into your little one's diet or simply craving a cool, wholesome treat, homemade rainbow lollies are a winning choice. They're a testament to how simple ingredients can transform into something truly extraordinary.
The Magic Behind Homemade Rainbow Lollies: Why DIY?
The allure of creating your own frozen treats goes far beyond mere novelty. Opting for homemade rainbow ice lollies provides a wealth of benefits that store-bought alternatives simply can't match:
- Unparalleled Customization: You are the artist! Choose your favorite fruits, dairy or non-dairy yogurts, and optional mix-ins to create flavor profiles that perfectly suit your palate or dietary needs.
- Control Over Ingredients: This is perhaps the biggest advantage. You dictate what goes in – and what stays out. Say goodbye to artificial flavors, colors, and excessive refined sugars. For a truly healthy option, you can easily make these Rainbow Ice Lollies: Healthy, Sugar-Free Fruit Pops for Kids.
- Nutrient Powerhouse: By using real fruit and yogurt, you're naturally loading your lollies with vitamins, minerals, fiber, and probiotics. It's a delicious way to boost your daily nutrient intake without even trying.
- Budget-Friendly: Making your own lollies can be significantly more economical than purchasing specialty frozen treats, especially if you buy fruits in season or on sale.
- Fun for the Whole Family: The process itself is an enjoyable activity. Get kids involved in blending fruits and layering colors – it’s a fantastic way to introduce them to healthy eating in an engaging manner.
These benefits combine to make homemade rainbow lollies a truly superior choice, transforming a simple dessert into a wholesome, creative, and cost-effective endeavor.
Crafting Your Creamy Dream: The Yogurt Base
At the heart of many homemade rainbow ice lollies lies a rich and creamy yogurt base. This ingredient is pivotal for both texture and taste, offering a delightful counterpoint to the vibrant fruit layers. The good news is, you have plenty of choices:
- Plain Yogurt is Your Best Friend: While flavored yogurts exist, plain yogurt – whether dairy or a plant-based alternative – is highly recommended. It acts as a blank canvas, allowing the natural sweetness and tartness of your chosen fruits to shine through.
- Dairy Options:
- Full-Fat Yogurt: If you crave ultimate creaminess and a softer, less icy texture, full-fat dairy yogurt (like Greek yogurt) is your go-to. The higher fat content contributes to a smoother, almost ice cream-like consistency.
- Low-Fat or Fat-Free Yogurt: These options will result in a firmer, icier pop, which some prefer for a more traditional ice lolly feel. They're also great for a lighter calorie count.
- Vegan Alternatives: For those following a plant-based diet or with dairy sensitivities, there's a fantastic array of vegan yogurts available. Almond, coconut, soy, and oat yogurts all work wonderfully. Choose unsweetened varieties to maintain control over the overall sweetness of your lolly. Coconut yogurt, in particular, offers a lovely creaminess and subtle tropical flavor that pairs beautifully with many fruits.
Regardless of your choice, ensure your yogurt is fresh and of good quality. The better the base, the better your final lolly!
Painting with Flavor: The Fruit Palette
This is where the "rainbow" truly comes to life! The beauty of homemade rainbow ice lollies is the sheer variety of fruits you can incorporate, each contributing its unique color, flavor, and nutritional profile. The key is to create vibrant, distinct layers. Consider the following:
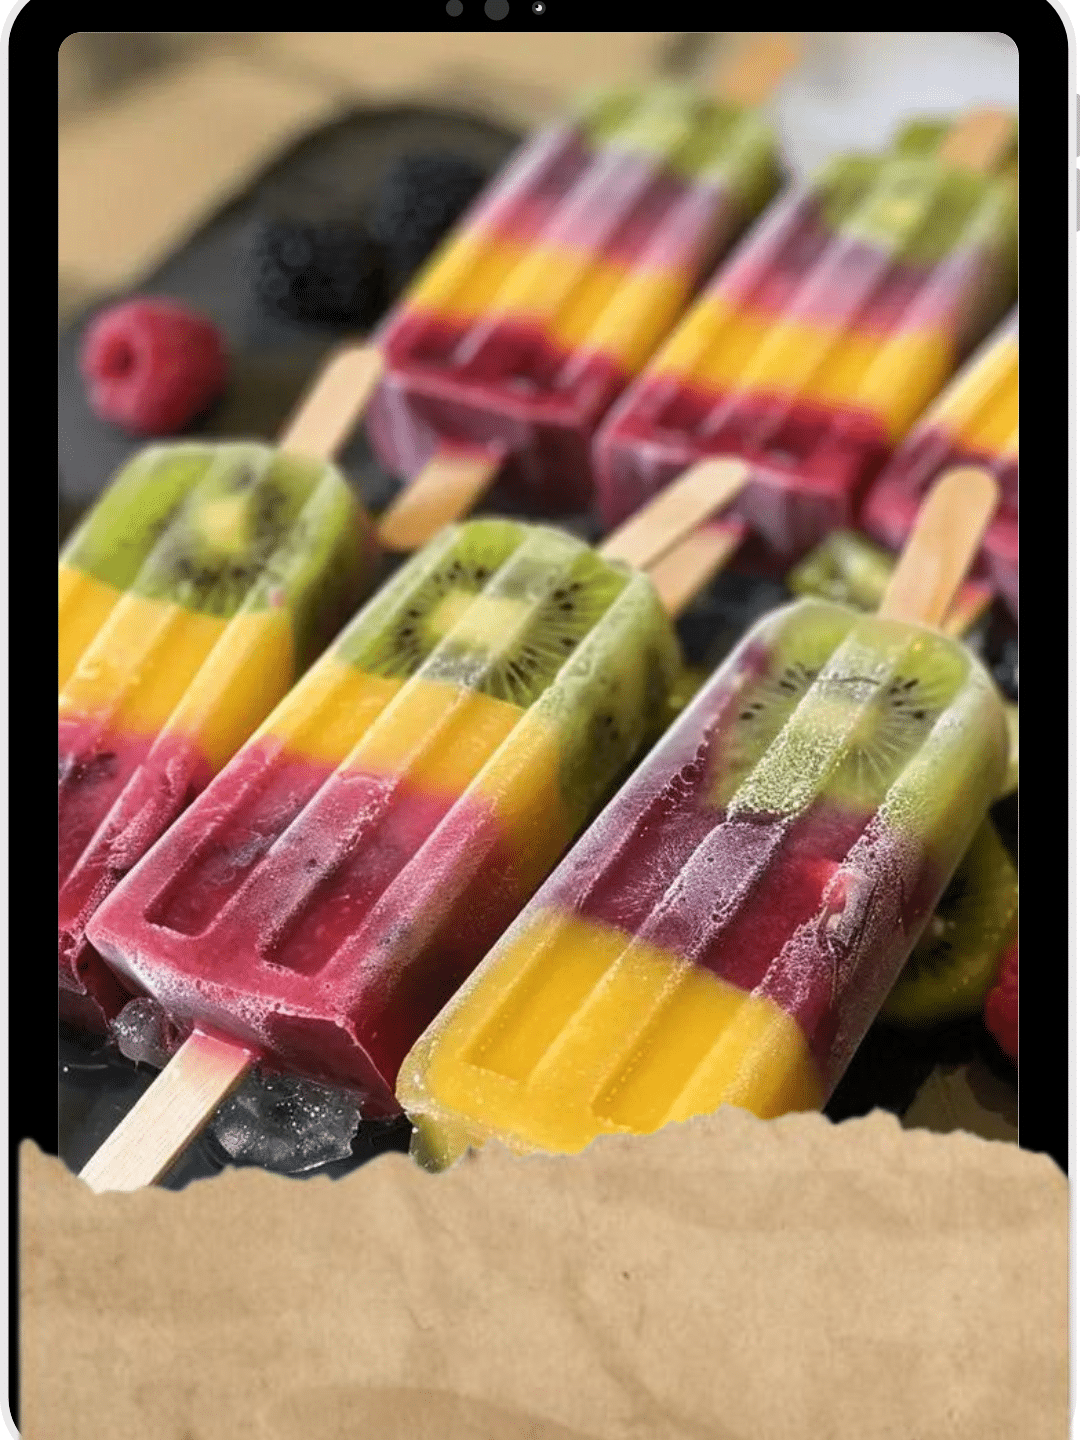
- Berries (Reds & Purples): Strawberries, raspberries, blueberries, blackberries, and cherries offer intense colors and a delightful tart-sweetness. They blend into smooth purees easily.
- Tropical Treasures (Oranges & Yellows): Mangoes, pineapples, peaches, apricots, and bananas provide sunny hues and luscious, sweet flavors. Bananas, especially ripe ones, add natural sweetness and creaminess.
- Green Goodness: Kiwi, honeydew melon, and even a touch of spinach (for nutrients, not necessarily flavor!) can create beautiful green layers. Avocado can add a creamy texture but might mute the color.
- Citrus Zing (Yellows & Oranges): Oranges, mandarins, and lemons can be used for a zesty kick, though they might be best combined with other fruits or a natural sweetener.
- Watermelon (Pinks & Reds): A fantastic choice for a refreshing, subtly sweet layer, especially in summer.
For the best results, use fresh, ripe fruit. Blend each fruit separately (or in desired combinations) with a touch of yogurt or a splash of liquid (water, juice, or even coconut water) until perfectly smooth. This creates a vibrant puree that will layer beautifully.
Sweetening Naturally (Optional)
One of the joys of these homemade treats is their naturally sweet profile, often requiring no added sugar. However, if your fruits aren't quite ripe or you simply prefer a sweeter treat, natural sweeteners are an excellent choice:
- Honey or Maple Syrup: These liquid sweeteners blend seamlessly into fruit purees and yogurt bases, offering a rich, natural sweetness.
- Dates: Medjool dates, when soaked and blended, provide a caramel-like sweetness and extra fiber.
- Ripe Banana: A very ripe banana can add significant sweetness and creaminess without needing any other sweetener.
- Stevia or Erythritol: For a strictly sugar-free option, these natural sugar alternatives can be used sparingly.
Remember that sugar content can also influence the texture of your lollies. A slightly higher sugar content (from natural sources) can result in a softer, less icy final product.
Beyond the Basics: Adding Texture & Nutrients
Want to "pimp" your homemade rainbow ice lollies even further? These additional ingredients can elevate your creations, adding delightful textures and boosting their nutritional value:
- Chia Seeds: A fantastic source of omega-3s and fiber, they swell and create a unique, slightly gelatinous texture.
- Oats: Blended finely or left whole, oats add substance and a healthy dose of fiber.
- Nuts & Seeds: Finely chopped almonds, cashews, sunflower seeds, or pumpkin seeds can add a delightful crunch.
- Shredded Coconut: Toasted or untoasted, it brings a tropical flair and lovely texture.
- Spices & Extracts: A pinch of cinnamon, a dash of vanilla extract, or even a hint of cardamom can add unexpected depth of flavor.
- Herbs: Fresh mint or basil can offer a surprising, refreshing twist.
Experiment with these additions in your layers or as a final sprinkle before freezing.
Step-by-Step to Rainbow Perfection: How to Assemble Your Lollies
Creating those beautiful, distinct rainbow layers is simpler than you might think:
- Prepare Your Purees: Blend each fruit or fruit-yogurt combination separately until smooth. Adjust sweetness if desired. Ensure each puree has a slightly different color. For a lighter, incredibly refreshing option, consider using pure fruit blended with coconut water, as highlighted in Refreshing Rainbow Coconut Ice Lollies: Naturally Sweet Fruit Purees.
- Layer One: Pour your first colored puree (e.g., red strawberry) into the lolly molds, filling about one-fifth of the way.
- Partial Freeze: Pop the molds into the freezer for 15-30 minutes, or until the layer is firm enough to hold the next layer without bleeding, but not completely solid. This is crucial for distinct layers.
- Repeat Layers: Carefully pour your second colored puree (e.g., orange mango) on top of the first. Return to the freezer. Continue this process with all your desired colors (yellow pineapple, green kiwi, blue blueberry, purple blackberry).
- Insert Sticks: Once you've added the final layer (or when the lollies are about half-frozen after a few layers), insert your lolly sticks. The semi-frozen mixture will hold them upright.
- Final Freeze: Freeze the lollies for at least 4-6 hours, or preferably overnight, until completely solid.
- Unmolding: To remove, run the molds under warm water for 10-20 seconds. This will loosen the edges, allowing you to gently pull out your magnificent rainbow ice lollies.
Creative Combinations & Flavor Adventures
The beauty of these lollies lies in endless possibilities. Don't be afraid to mix and match! Here are a few ideas to spark your imagination:
- Berry Blast: Layers of strawberry, raspberry, and blueberry yogurt.
- Tropical Sunset: Mango, pineapple, and a touch of passionfruit.
- Green Goddess: Kiwi, spinach (blended with banana to mask flavor), and a creamy avocado-lime layer.
- Peanut Butter Swirl: Add a tablespoon of natural peanut butter to a banana-yogurt layer for a nutty twist.
- Chai Spice: Infuse a plain yogurt layer with a pinch of chai spice blend for an exotic flavor.
With a little creativity, you'll never get bored of these simple yet spectacular frozen treats. Each batch can be a new adventure in flavor and color, making homemade rainbow ice lollies a favorite in your household.
Conclusion
Homemade rainbow ice lollies are more than just a sweet treat; they are a vibrant, customizable, and nutritious celebration of natural ingredients. By taking control of what goes into your frozen delights, you unlock a world of flavor combinations, health benefits, and creative fun. Whether you prefer the creamy richness of a yogurt base or the light refreshment of a coconut water alternative, the process is simple, rewarding, and guaranteed to put a smile on everyone's face. So, gather your favorite fruits, pick your base, and start layering your way to a cooler, healthier, and much more colorful summer!
